2.1.2. Guide: Create Brand Workflow
This chapter builds on the work from the previous chapter where you created a Brand Module.
After adding custom modules to your application, you build commerce features around them using workflows. A workflow is a series of queries and actions, called steps, that complete a task spanning across modules. You construct a workflow similar to a regular function, but it's a special function that allows you to define roll-back logic, retry configurations, and more advanced features.
The workflow you'll create in this chapter will use the Brand Module's service to implement the feature of creating a brand. In the next chapter, you'll expose an API route that allows admin users to create a brand, and you'll use this workflow in the route's implementation.
1. Create createBrandStep#
A workflow consists of a series of steps, each step created in a TypeScript or JavaScript file under the src/workflows directory. A step is defined using createStep from the Workflows SDK
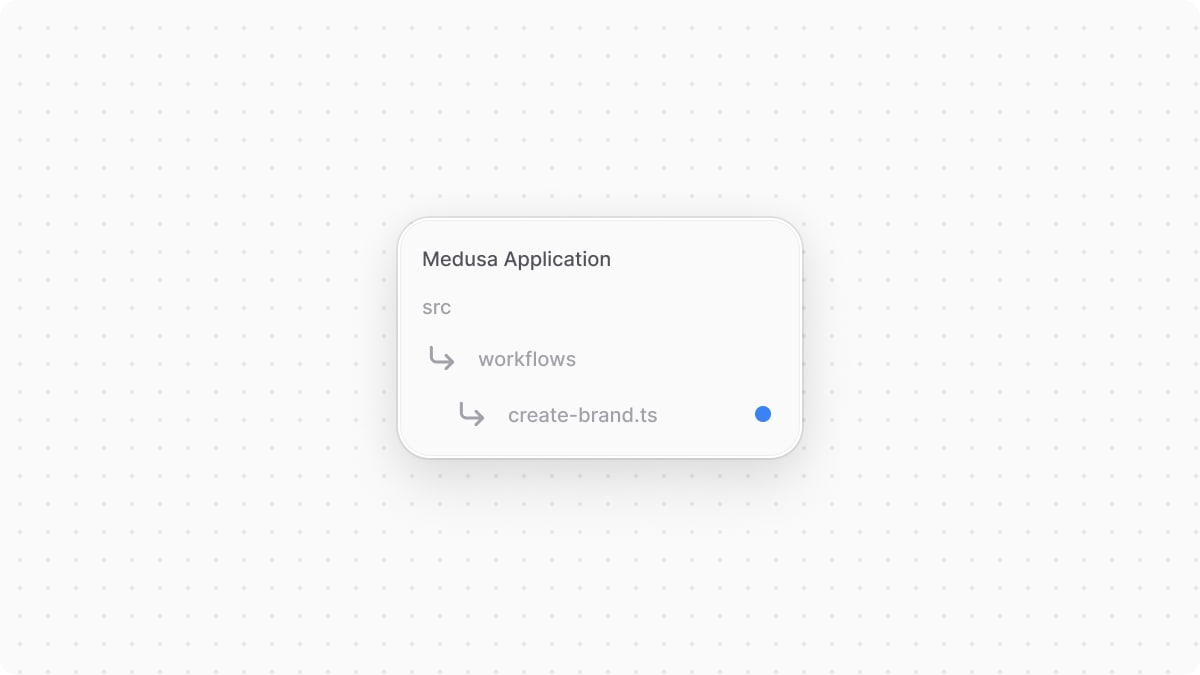
The workflow you're creating in this guide has one step to create the brand. So, create the file src/workflows/create-brand.ts with the following content:

1import {2 createStep,3 StepResponse,4} from "@medusajs/framework/workflows-sdk"5import { BRAND_MODULE } from "../modules/brand"6import BrandModuleService from "../modules/brand/service"7 8export type CreateBrandStepInput = {9 name: string10}11 12export const createBrandStep = createStep(13 "create-brand-step",14 async (input: CreateBrandStepInput, { container }) => {15 const brandModuleService: BrandModuleService = container.resolve(16 BRAND_MODULE17 )18 19 const brand = await brandModuleService.createBrands(input)20 21 return new StepResponse(brand, brand.id)22 }23)
You create a createBrandStep using the createStep function. It accepts the step's unique name as a first parameter, and the step's function as a second parameter.
The step function receives two parameters: input passed to the step when it's invoked, and an object of general context and configurations. This object has a container property, which is the Medusa container.
The Medusa container is a registry of Framework and commerce tools accessible in your customizations, such as a workflow's step. The Medusa application registers the services of core and custom modules in the container, allowing you to resolve and use them.
So, In the step function, you use the Medusa container to resolve the Brand Module's service and use its generated createBrands method, which accepts an object of brands to create.
A step must return an instance of StepResponse. Its first parameter is the data returned by the step, and the second is the data passed to the compensation function, which you'll learn about next.
Add Compensation Function to Step#
You define for each step a compensation function that's executed when an error occurs in the workflow. The compensation function defines the logic to roll-back the changes made by the step. This ensures your data remains consistent if an error occurs, which is especially useful when you integrate third-party services.
To add a compensation function to the createBrandStep, pass it as a third parameter to createStep:
The compensation function's first parameter is the brand's ID which you passed as a second parameter to the step function's returned StepResponse. It also accepts a context object with a container property as a second parameter, similar to the step function.
In the compensation function, you resolve the Brand Module's service from the Medusa container, then use its generated deleteBrands method to delete the brand created by the step. This method accepts the ID of the brand to delete.
So, if an error occurs during the workflow's execution, the brand that was created by the step is deleted to maintain data consistency.
2. Create createBrandWorkflow#
You can now create the workflow that runs the createBrandStep. A workflow is created in a TypeScript or JavaScript file under the src/workflows directory. In the file, you use createWorkflow from the Workflows SDK to create the workflow.
Add the following content in the same src/workflows/create-brand.ts file:
1// other imports...2import {3 // ...4 createWorkflow,5 WorkflowResponse,6} from "@medusajs/framework/workflows-sdk"7 8// ...9 10type CreateBrandWorkflowInput = {11 name: string12}13 14export const createBrandWorkflow = createWorkflow(15 "create-brand",16 (input: CreateBrandWorkflowInput) => {17 const brand = createBrandStep(input)18 19 return new WorkflowResponse(brand)20 }21)
You create the createBrandWorkflow using the createWorkflow function. This function accepts two parameters: the workflow's unique name, and the workflow's constructor function holding the workflow's implementation.
The constructor function accepts the workflow's input as a parameter. In the function, you invoke the createBrandStep you created in the previous step to create a brand.
A workflow must return an instance of WorkflowResponse. It accepts as a parameter the data to return to the workflow's executor.
Next Steps: Expose Create Brand API Route#
You now have a createBrandWorkflow that you can execute to create a brand.
In the next chapter, you'll add an API route that allows admin users to create a brand. You'll learn how to create the API route, and execute in it the workflow you implemented in this chapter.